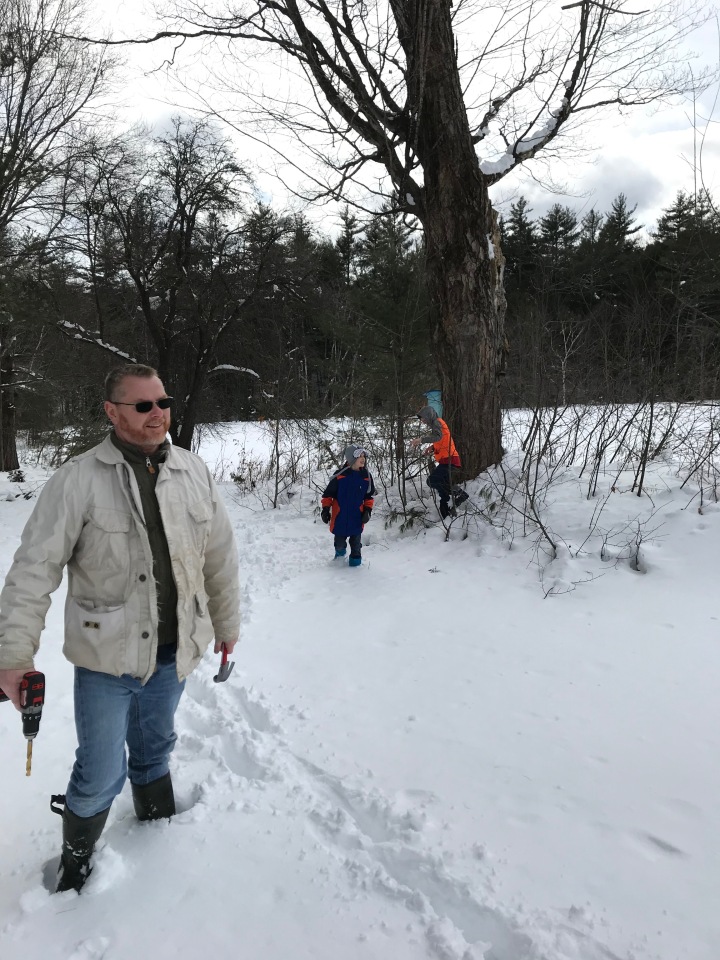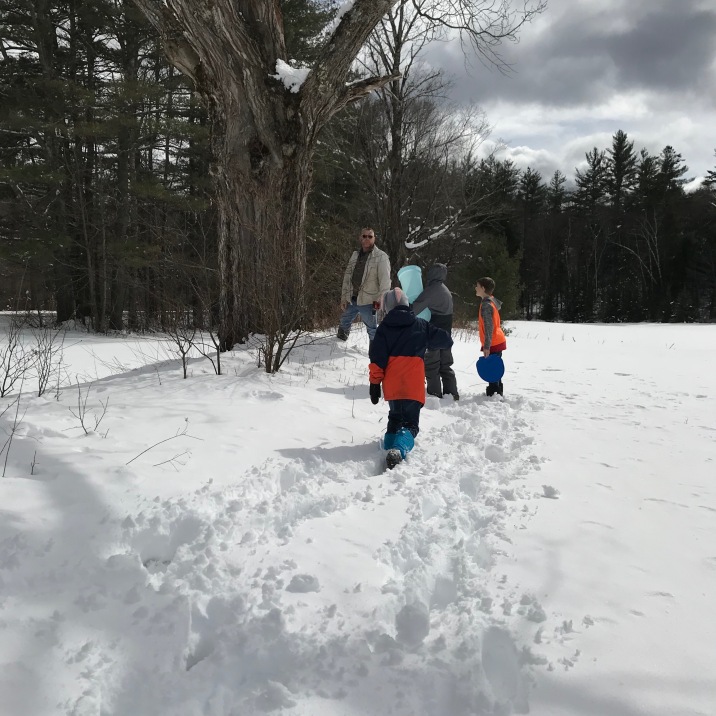
When you live in New Hampshire there are certain things that are expected of you. You’re expected to drop the ‘a’ off the end of words and insert ‘er’ (and vice versa), ski, grow a beard, and wear flannel. If you’re able bodied and have something to tap, you’re also expected to produce syrup. It doesn’t have to be a large quantity – enough for one breakfast is acceptable – and it can be a thrown together operation – just so you do it. About a week and a half ago we finally joined the rest of the syrup producing population and tapped our first trees…
Tapping a tree and collecting syrup is a pretty straight-forward affair. For optimal collection the temps should be in the low 40’s (Fahrenheit) during the day and the mid-20’s at night. You then have to locate a tree that will produce sap. Ideally you’ve taken the time over the summer and fall to locate good candidates. We didn’t, but we have two very large, old sugar maples on our property that we were pretty sure would work. If you don’t have maples, or you aren’t sure what type of maples you have, don’t worry. There’s actually a fairly extensive list of tapable trees. Maples work well because of the higher sugar content in the sap. 40 gallons of sap from a sugar maple are needed to produce one gallon of syrup. In comparison, it takes 100 gallons or more of birch sap to make one gallon of syrup.

Some items you’ll need for tapping a tree are a drill with a 7/16 inch bit, a hammer, a spile (also known as a tap or spout), a bucket, a lid, and a hook (for hooking the bucket to the spile). If you’re half-assing it because you’re new to the whole tapping process, zip ties and bungee cords are also recommended.
You’re looking for a tree that is at least 12 inches in diameter. You can use more than one tap per tree if the tree is big enough (over 20 inches), but we stayed with one tap per tree for this year. After identifying a tree, examine it to find a good place to drill. You want to drill into the tree between two and two a half inches at a slight upward angle. You can use a twig to clean out the hole (oops) and then insert the spile, tapping gently with the hammer.

Once the spile is in place you should see a clear liquid dripping out pretty much immediately. There’s actually a little drip of sap in the above picture, about halfway down. It looks exactly like water. At this point hang your bucket on the hook. If you forgot to place the hook on the spile before pounding it into the tree, pull the spile out, insert the hook, and re-insert the spile. If you haven’t quite figured out how to make the hook, spile, bucket, and lid all work as one, whip out your zip ties and cinch that bitch together. Because at this point your hands are probably frozen and you no longer care about looking authentic.

We collected our first sap 24 hours after tapping and got about a gallon and a half between the two trees. The weather was on the colder side so the sap flow was slow and there was quite a bit of ice. The ice has a very low sugar content (we tried some) so it can be thrown out – this just means there’s less water to boil out of the sap. (Note the bungee cord and zip ties in the first picture.)

It’s recommended that you boil the sap within seven days of collection. We have about three and a half gallons sitting in the fridge waiting to get boiled down – and that will be tomorrow’s adventure.


